

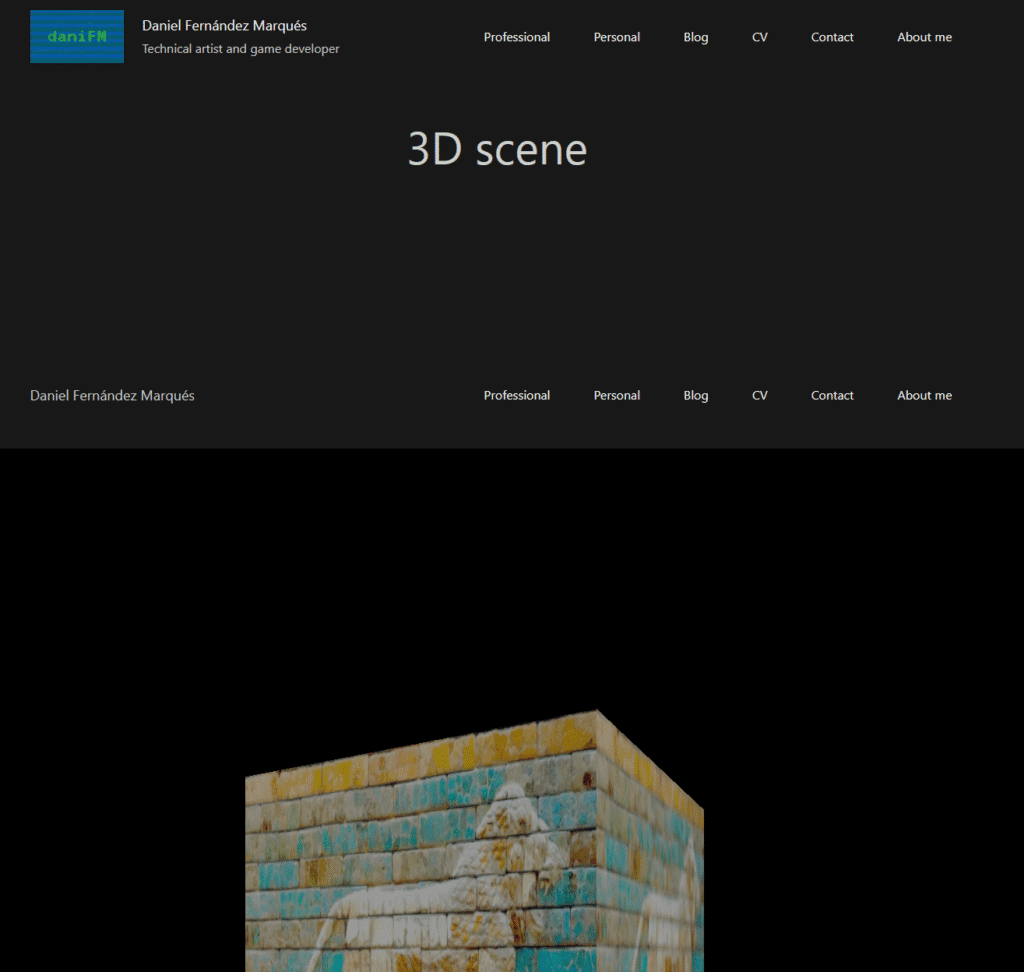
This is a 3D scene, you can interact with it!
Lately I saw some web 3D experiences made by Vicente Lucendo that really caught my eye. I also watched his talk about how he makes his experiences, which I very much recommend:
I have been hearing about Three.js for a long time, but there has always some reasons for me to look the other way: there isn’t a popular editor (at least that I know of), the whole web setup is complicated, JavaScript looks like an untrustworthy language, and the fact that getting into this requires a whole set of skills that I don’t know if I can transfer from working with game engines.
However, every time I’ve looked at one of those 3D web pages and how it just loads beautifully, no matter the device, really pulls me towards trying it out myself. Would I just ignore my concerns and go through this rabbit hole?
Well yes, of course I did.
First, I wanted to explore how could I use my current setup to host this. Because I’m using WordPress, I looked into plugins that let you run Three.js from within it. However, the best I got was a plugin that let you embed a canvas into a post or a page, but it just shoved it under the WordPress content, so it would never look right.
So I decided to just drop this approach and just try to get it working outside of WordPress, by uploading it directly to my hosting’s file system. For this, I followed the setup in the Three.js webpage and installed everything locally. To do so, I just opened a folder with VS Code and just pasted the commands and added the required index.html and main.js files.
However, there’s some stuff that they doesn’t tell you. For instance, the command npx vite will just execute the project locally, but to deploy it, you will need to build it 🤯. For me the concept of building a web page was completely new. So, I had to do a couple of things to achieve this. First, add the build command to the package.json file:
{
  "dependencies": {
    "three": "^0.180.0"
  },
  "devDependencies": {
    "vite": "^7.1.8"
  },
  "name": "test1",
  "version": "1.0.0",
  "description": "this is a threejs test",
  "main": "index.html",
  "scripts": {
    "build": "vite build",
    "test": "echo \"Error: no test specified\" && exit 1"
  },
  "author": "daniFM",
  "license": "ISC"
}
Later on, I ran into some issues with the paths, so the fix was to add this other file to the root.
import { defineConfig } from 'vite';

export default defineConfig({
    // Ensure the base is set to './' for relative paths
    base: './',

    build: {
        // Output directory for built files
        outDir: './dist',

        // Directory where static assets will be placed
        assetsDir: 'assets',

        // Optional: Control how URLs are generated
        rollupOptions: {
            output: {
                manualChunks: {},
            },
        },
    },
});And that was it (for now). I could now build by running
npm run buildNow, I want this to be deployed to my site without much hassle, so I opted for using GIT. That way I also forced myself to use version control. To achieve this, I used a feature in my hosting that allows to point to a git repo. In my case, I’m using Hostinger. In Settings->Advanced->GIT it has some options to configure SSH for a repo and pull it to a folder within my webpage’s folder structure. To finish to make it automatic, I added a webhook to my repo in GitLab, so every time I push to the main branch, it pulls automatically.
And that was all the setup! Now I have a dedicate page to it, while also being able to insert it wherever I want with iframes.
GLTF and Lighting
Another topic I investigated was how to load my own meshes. Turns out Three.js supports GLTF. This is a format I really like, because it supports almost everything: meshes, materials, textures, animation, etc. And can pack whole scenes in a single file, so it’s super convenient to just export any of my scenes from Blender and add it here. Of course, it will not export the procedural textures/materials. But it’s good enough for now, I’ll come back for that later. To do this, I followed the code in this example, removing the Draco compression stuff, which I don’t use.
In this scene, I also tried to bring real time shadows. The configuration is a bit of a hassle, since you need to input all the parameters by hand. Here’s an example of the setup for a single directional light.
// ...

// Enable shadows
renderer.shadowMap.enabled = true;
renderer.shadowMap.type = THREE.PCFShadowMap;

// Create light
const color = 0xFFFFFF;
const intensity = 10;
const light = new THREE.DirectionalLight(color, intensity);
light.position.set(-304, 605, 211);
light.target.position.set(0, 0, 0);
light.castShadow = true;
light.shadow.camera.top = 500;
light.shadow.camera.bottom = - 500;
light.shadow.camera.left = - 500;
light.shadow.camera.right = 500;
light.shadow.camera.near = 1;
light.shadow.camera.far = 10000;
light.shadow.normalBias = 1;
// light.shadow.bias = -0.0002;
// light.shadow.radius = 8;
light.shadow.mapSize.width = SHADOW_MAP_WIDTH;
light.shadow.mapSize.height = SHADOW_MAP_HEIGHT;
scene.add(light);
scene.add(light.target);

// ...

//Set properties of objects
model.traverse(function (object)
{
    if (object.isMesh) object.castShadow = true;
    if (object.isMesh) object.receiveShadow = true;
});

// ...And that’s it for now! Now I have a whole new sink to throw my free time into. I hope with this new setup, I’ll be able to experiment with more things like:
- Code shaders!
- Make procedural meshes!
- Make games with it (this actually looks like it’s going to be extremely tedious)